Resources & Capacity
Every bookable item (your rooms, games, or experiences) in Buzzshot Bookings has its own built-in capacity settings -- maximum people, maximum bookings per slot, and so on. But what happens when two or more bookable items share the same physical space, equipment, or staff? That is where Shared Resources come in.
Shared Resources let you define things that are limited across multiple bookable items (not across accounts -- shared resources are always scoped to a single account), and Buzzshot will automatically prevent overbooking by tracking how much of each resource is in use at any given time. Customers never see shared resources directly -- they only affect which time slots show as available.
When Do You Need Shared Resources?
You probably already have your basic capacity settings configured on each bookable item (maximum people per slot, maximum bookings per slot, etc.). Those settings work well when each bookable item is independent -- it has its own room, its own equipment, and there is no overlap.
You need Shared Resources when:
- Multiple bookable items share the same physical room. For example, "Prison Escape" and "Prison Escape: Head to Head" both use the same set of game rooms.
- Equipment is limited across rooms. For example, you have 10 VR headsets that are used by several different experiences.
- A game mode uses more capacity than another. For example, a head-to-head mode uses two rooms while the standard mode uses one.
- You have a limited number of staff or game masters. For example, you have 3 game masters running 5 different experiences -- once 3 are booked at the same time, the remaining experiences should automatically show as unavailable for that slot.
If none of these apply to your business, you can skip Shared Resources entirely and rely on the built-in capacity settings on each bookable item.

Creating a Shared Resource
- Go to Settings > Shared Resources.
- Click Add Shared Resource.
- Fill in the details:
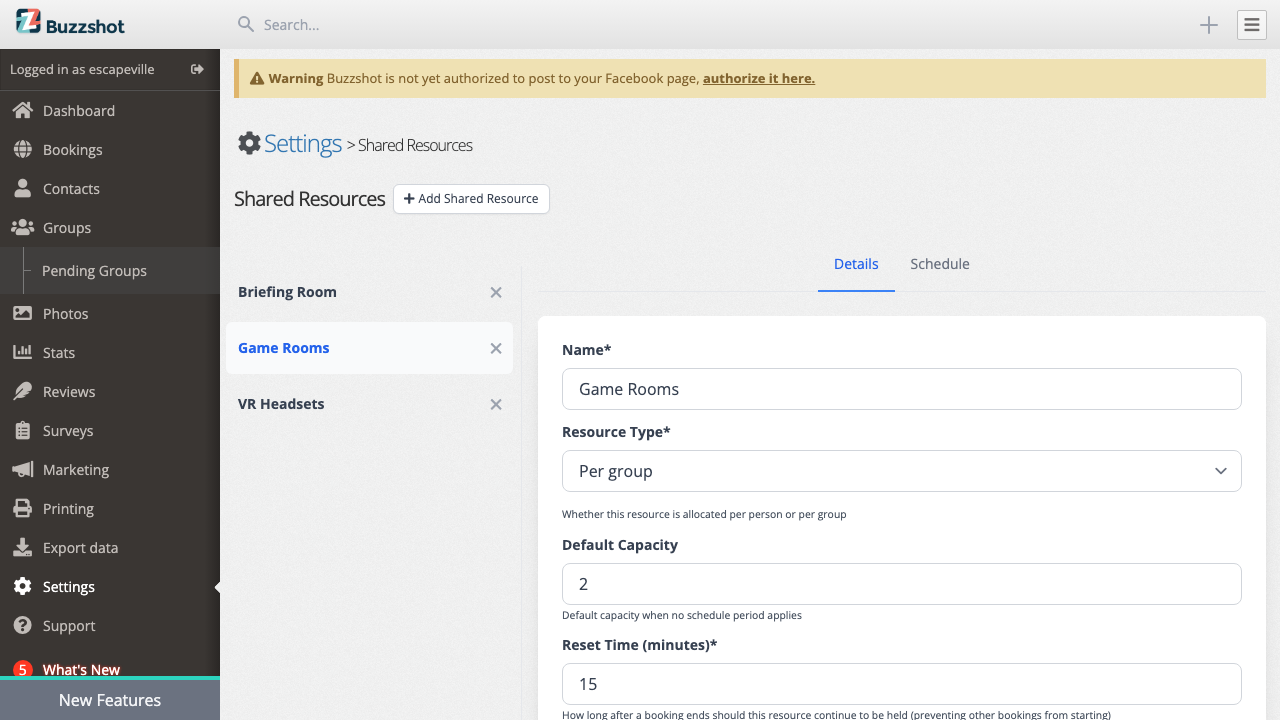
Name -- Give it a descriptive name. This is what you will see when assigning it to bookable items. Examples: "Game Rooms", "VR Headsets", "Briefing Room".
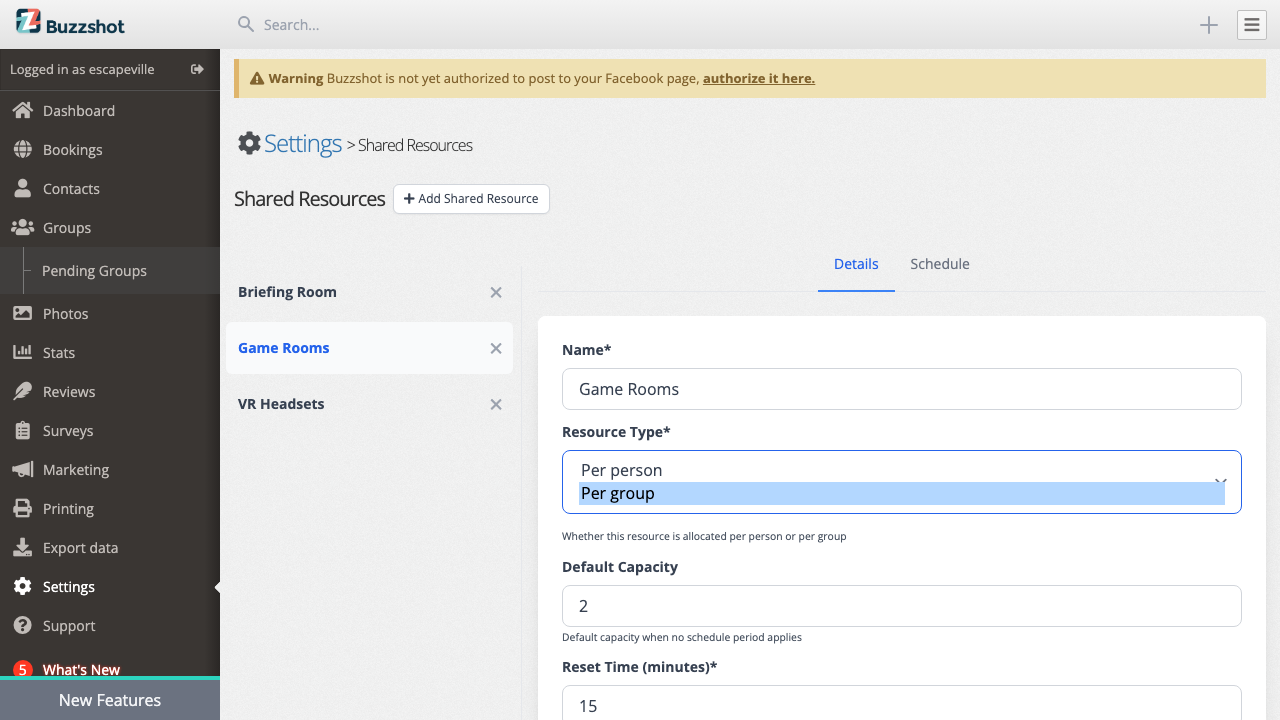
Resource Type -- Choose between:
- Per group -- Each booking uses the specified quantity, regardless of how many people are in the group. Use this for rooms, spaces, and most physical resources. A room is a room whether 2 people or 8 people are playing.
- Per person -- Each person in the booking uses the specified quantity. Use this for equipment that each player needs individually, like VR headsets or tablets.
Default Capacity -- How many units of this resource are available at any given time. If you have 2 game rooms, set this to 2. If you have 10 VR headsets, set this to 10.
Reset Time (minutes) -- How long after a booking ends the resource should remain held before it is available again. This is useful for cleaning or resetting between games. Set to 0 if you do not need a gap.
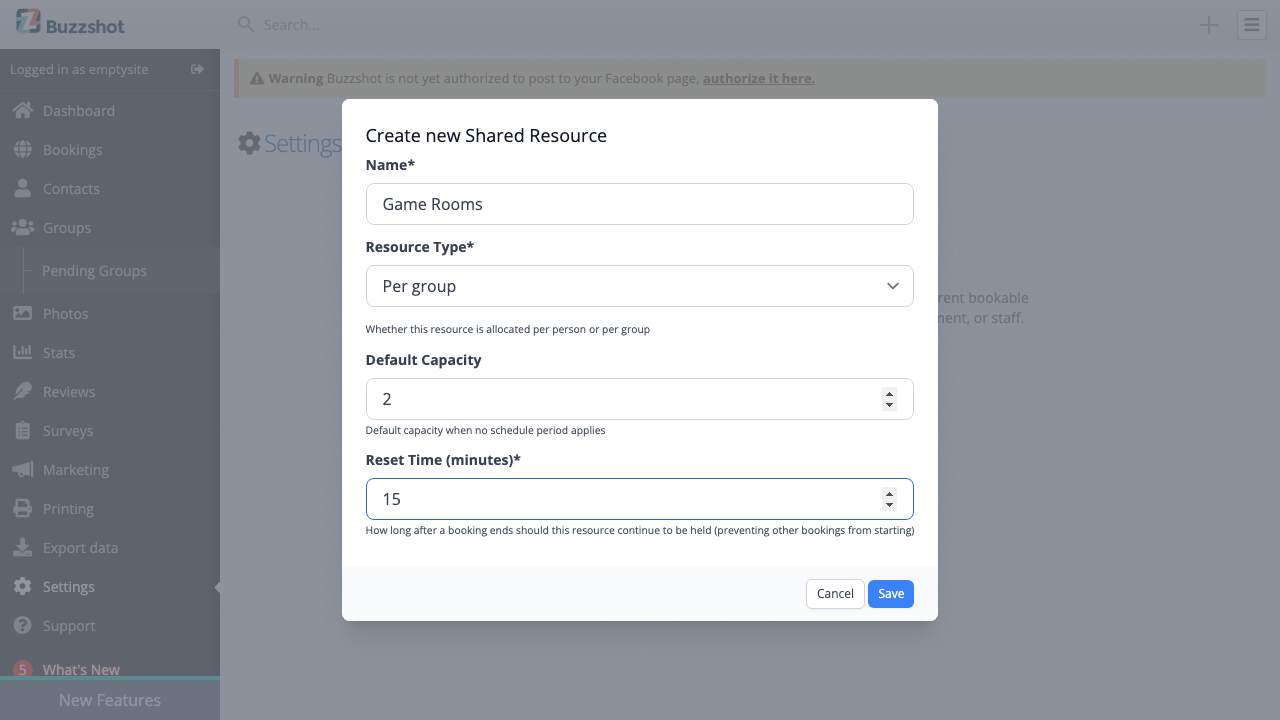
Click Save to create the resource.
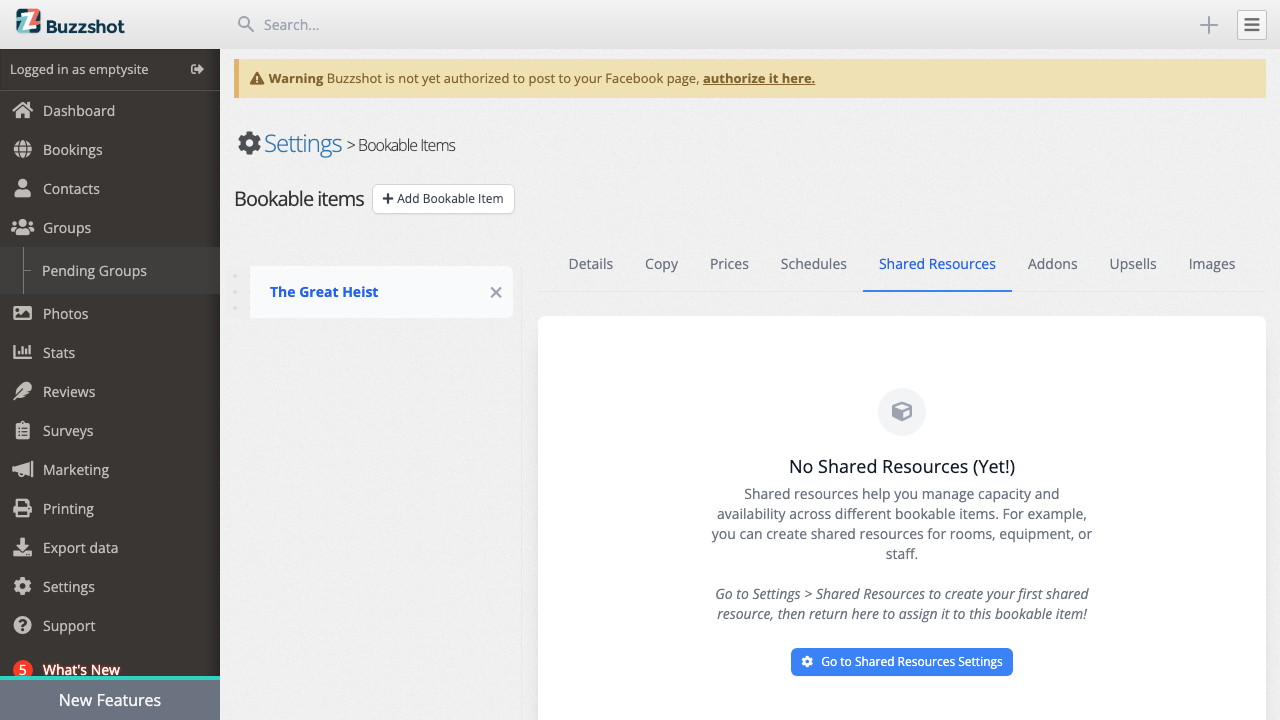
Assigning Resources to Bookable Items
Once you have created your Shared Resources, you need to tell each bookable item which resources it requires:
- Go to the bookable item's settings.
- Click the Shared Resources tab.
- Check the box next to each resource this bookable item needs.
- Set the Quantity for each assigned resource -- this is how much of the resource each booking consumes.
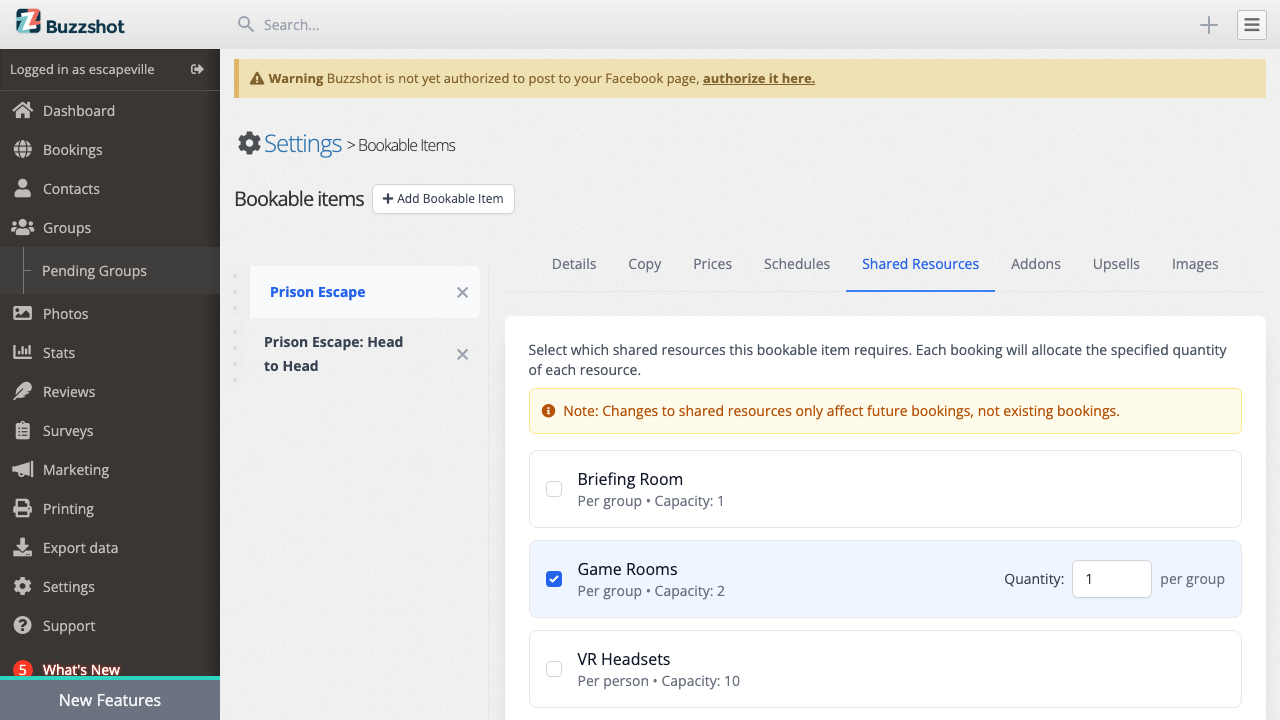
For example, if you have a "Game Rooms" resource with a capacity of 2:
- Your "Prison Escape" bookable (single team) needs quantity 1 -- one booking uses one room.
- Your "Prison Escape: Head to Head" bookable (two teams face off) needs quantity 2 -- one booking uses both rooms.

Important: Changes to shared resource assignments only affect future bookings, not existing ones.
Warning: The system will not prevent you from setting a quantity that exceeds the resource's total capacity. If you do this, the bookable's slots will always show as unavailable with no error message. Always double-check that the quantity you assign does not exceed the resource's default capacity.
How Availability Works
When a customer looks at available time slots, Buzzshot checks every constraint on each slot. The availability shown is always limited by the most restrictive constraint. This includes:
- The bookable item's own maximum bookings per slot
- The bookable item's own maximum people per slot
- The remaining capacity of every assigned shared resource
Here is a practical example:
Scenario: Shared Game Rooms
You have a "Game Rooms" resource with capacity = 2, and two bookable items:
| Bookable Item | Resource Quantity | What It Means |
|---|---|---|
| Prison Escape (Single) | 1 | Uses 1 room per booking |
| Prison Escape (Head to Head) | 2 | Uses 2 rooms per booking |
When nothing is booked:
- Prison Escape (Single) shows 2 available (2 rooms / 1 per booking)
- Prison Escape (Head to Head) shows 1 available (2 rooms / 2 per booking)
When one Single game is booked:
- Prison Escape (Single) shows 1 available (1 room left / 1 per booking)
- Prison Escape (Head to Head) shows 0 available (1 room left, but it needs 2)
When one Head to Head game is booked:
- Prison Escape (Single) shows 0 available (0 rooms left)
- Prison Escape (Head to Head) shows 0 available (0 rooms left)
This is the key benefit of Shared Resources -- Buzzshot automatically prevents bookings that would exceed the available capacity, even across different bookable items.
When a booking is cancelled, its resource allocation is released and the capacity is restored, making those slots available again for new bookings.
Reset Time
The Reset Time setting on a shared resource adds a buffer period after a booking ends. During this buffer, the resource is still considered "in use" and unavailable for other bookings to start.
This is useful for things like:
- Cleaning and resetting a room between games
- Allowing time for one group to leave before the next arrives
- Equipment cooldown or recharging time
For example, if a game ends at 3:00 PM and the resource has a 15-minute reset time, the resource will not be available again until 3:15 PM. Any bookable item that shares this resource will reflect this -- a slot starting at 3:10 PM would show as unavailable.
Note that both the bookable item and the shared resource have their own reset time settings -- these are separate. The bookable item's reset time applies to the bookable item, and the shared resource's reset time applies to the shared resource.
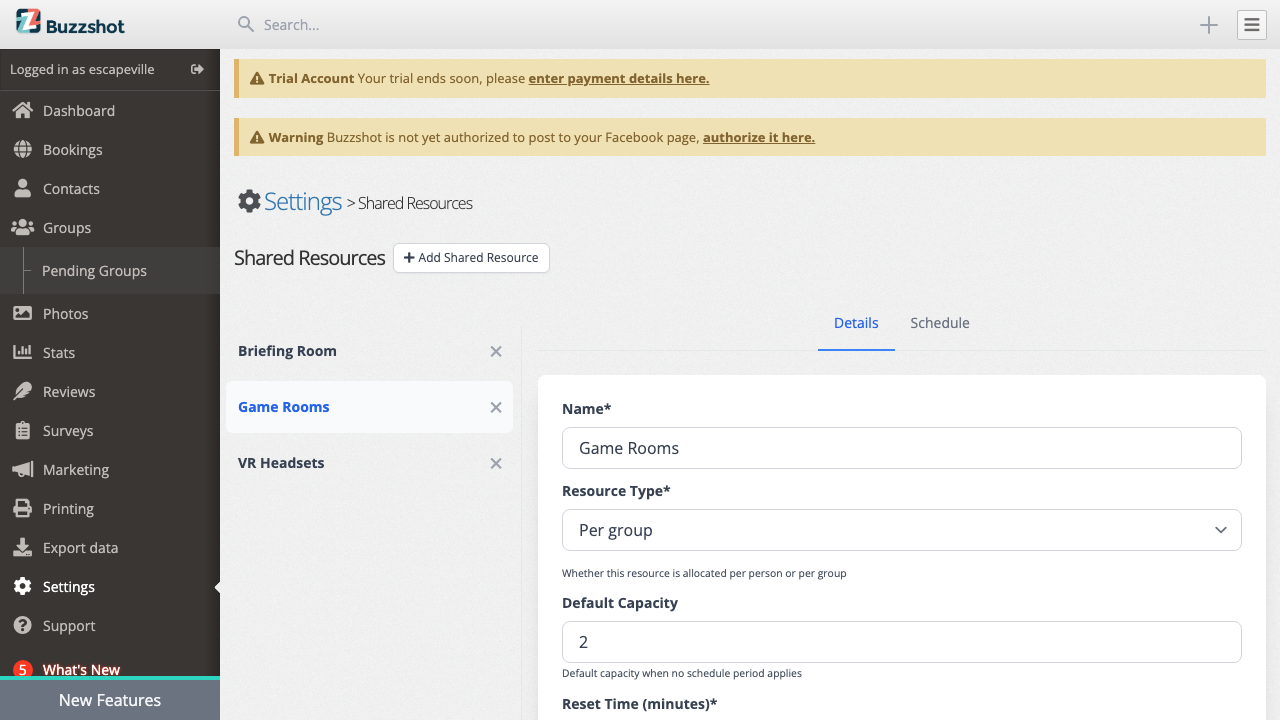
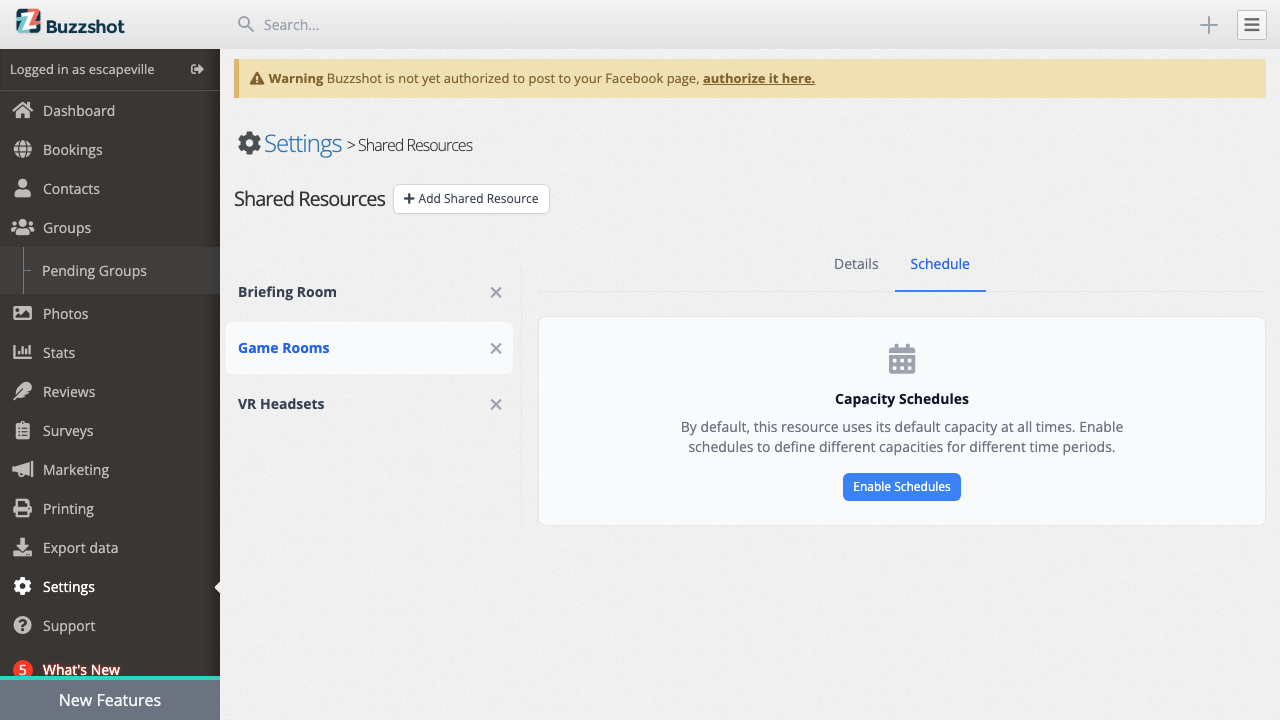
Capacity Schedules
By default, a shared resource has the same capacity at all times. But you might need different capacities at different times. For example, you might have extra VR headsets available on weekends, or a room that is only available for bookings during certain hours.
To set up variable capacity:
- Go to Settings > Shared Resources and select the resource.
-
Click the Schedule tab.
-
Click Enable Schedules.
- Create schedule entries with different capacity values for different time periods and days.
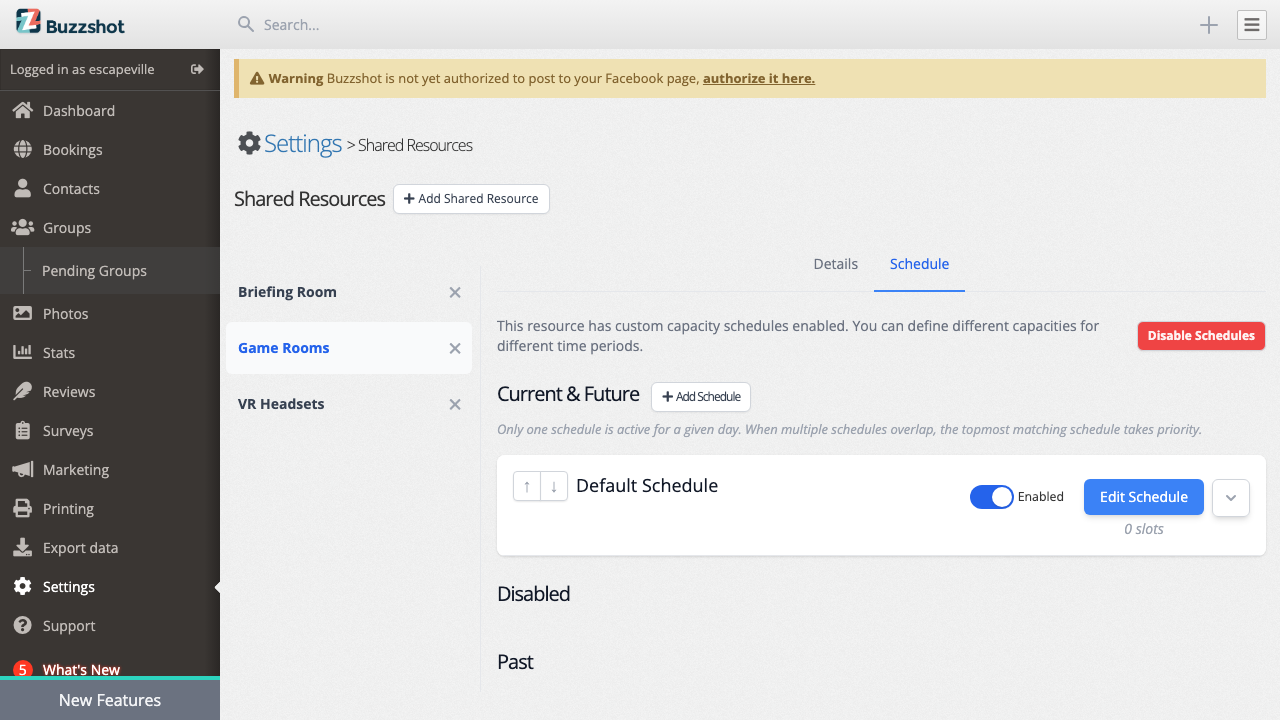
When a booking slot overlaps multiple schedule periods with different capacities, Buzzshot uses the lowest capacity among them. This ensures you never over-allocate, even if capacity changes partway through a slot.
If a time period is not covered by any schedule entry, the resource's default capacity applies.
To remove capacity schedules and go back to a fixed capacity, click Disable Schedules on the Schedule tab.
Warning: Clicking Disable Schedules will permanently delete all schedule entries for the resource. This cannot be undone. If you need to temporarily go back to a fixed capacity, consider setting all schedule entries to the same value instead of disabling schedules entirely.
Tips
- Name resources clearly. You will see these names when assigning them to bookable items, so something like "Main Building Rooms" is more helpful than "Resource 1".
- Start simple. If all your rooms are independent, you probably do not need shared resources at all. Add them when you genuinely have overlap.
- Test after setting up. Check the booking widget or calendar view to confirm that availability looks correct after adding shared resources.
- Deleting a resource is permanent. If you delete a shared resource, all of its allocation tracking is permanently removed and cannot be undone. Existing bookings are not cancelled, but the resource will no longer limit future availability.
- Remember the minimum rule. Availability is always limited by the most constrained resource. If a bookable has room for 5 more groups based on its own settings but only 1 unit of a shared resource remains, the availability will show as 1.
- Shared resources and Rules work together. If you use the Rules system to block slots, mark them as call-to-book, or restrict availability in other ways, those rules apply on top of shared resource constraints. A slot must pass both the Rules checks and have sufficient shared resource capacity to show as available. See the Rules article for more on configuring rules.
- Troubleshooting unavailable slots. If a slot shows as unavailable and you are not sure why, check whether any shared resource assigned to that bookable has reached its capacity for that time period. Per-slot capacity limits, shared resources, reset time buffers, and rules all contribute to availability.