Email editor
Buzzshot sends your customers a range of emails, such as a booking confirmation and your after-game "Thanks for playing" message. The email editor lets you design any of these by dragging pieces into place, so they look the way you want and carry exactly the information you need. You can keep things simple, or build a rich, branded email like this one:
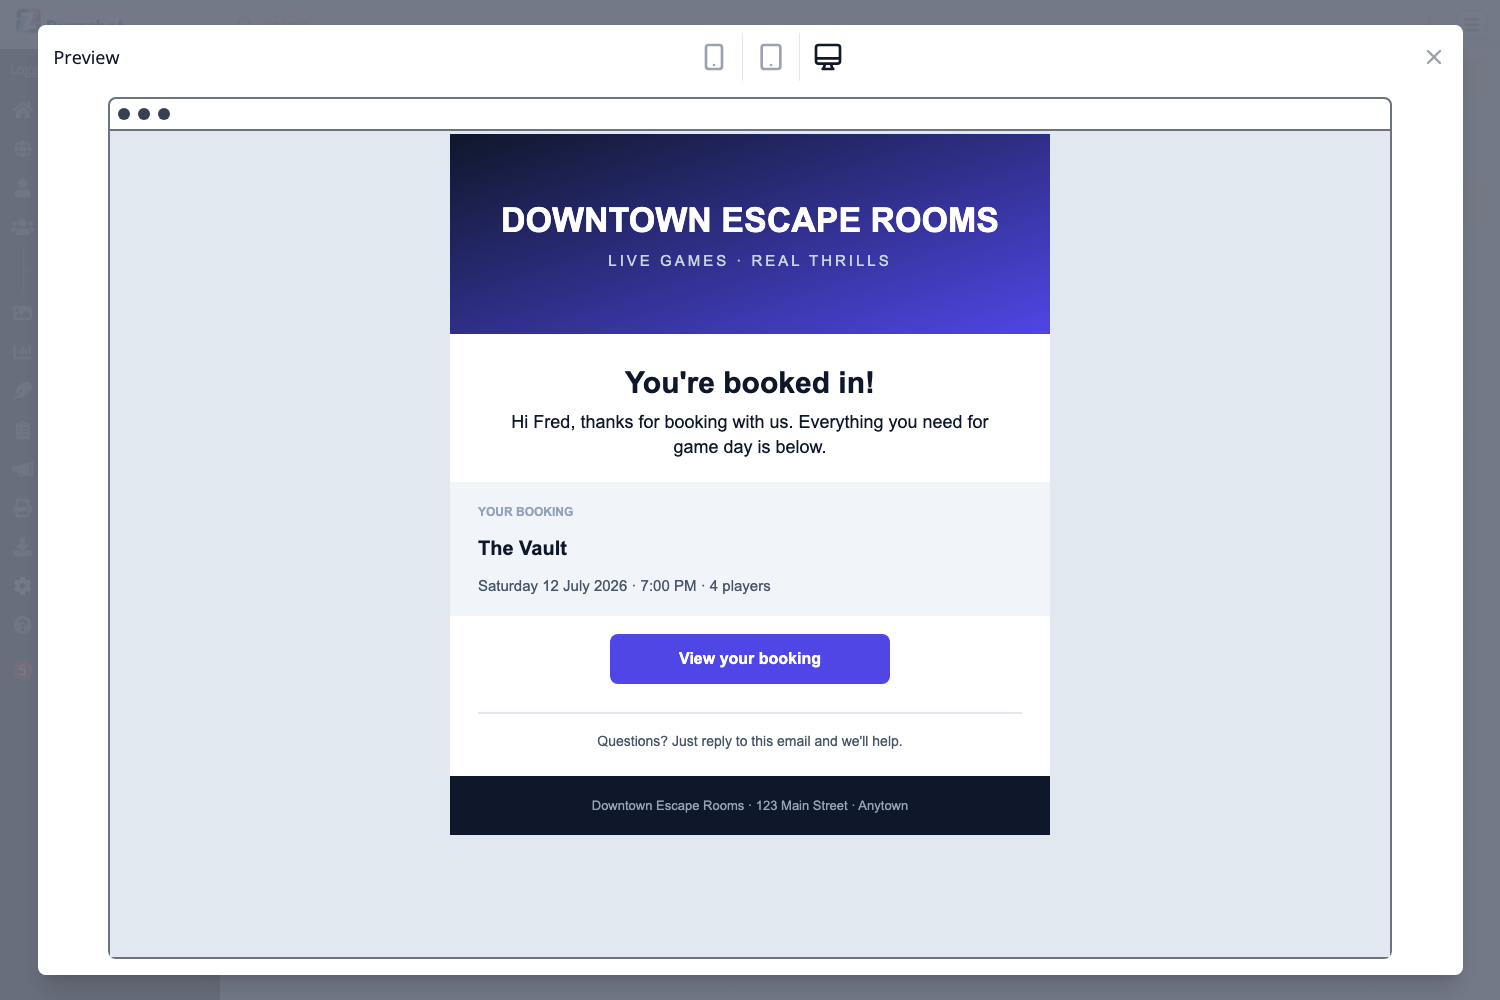
This guide walks through the whole editor, one piece at a time.
Where your emails live
Your standard emails are listed under Settings > Emails. Open one and you will see a preview of it, a switch to turn that email on or off, and an Edit Email button. The same editor is also used by the email steps inside your Automations, so everything below applies there too.
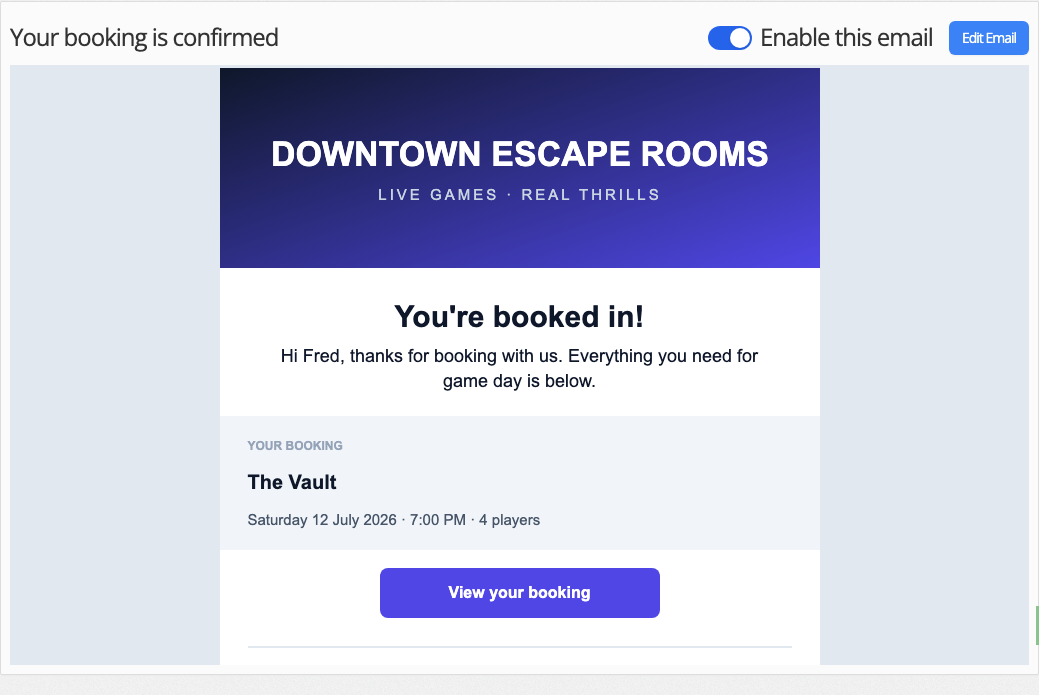
Click Edit Email to open the editor.
How an email is built: rows, columns and blocks
Every email is made of three kinds of thing:
- A row is a full-width horizontal band. Rows stack down the page to make up the whole email.
- Each row is divided into one or more columns, side by side, which is handy for putting two things next to each other.
- Into those columns go content blocks. A block is a single piece of the email, such as a chunk of text, an image, a button or a divider, and blocks are what your readers actually see.
So an email is a stack of rows, each row is split into one or more columns, and blocks sit inside those columns. You do not have to plan this out in advance; you build it up as you go.
The three areas of the editor
When the editor opens you will see three areas:
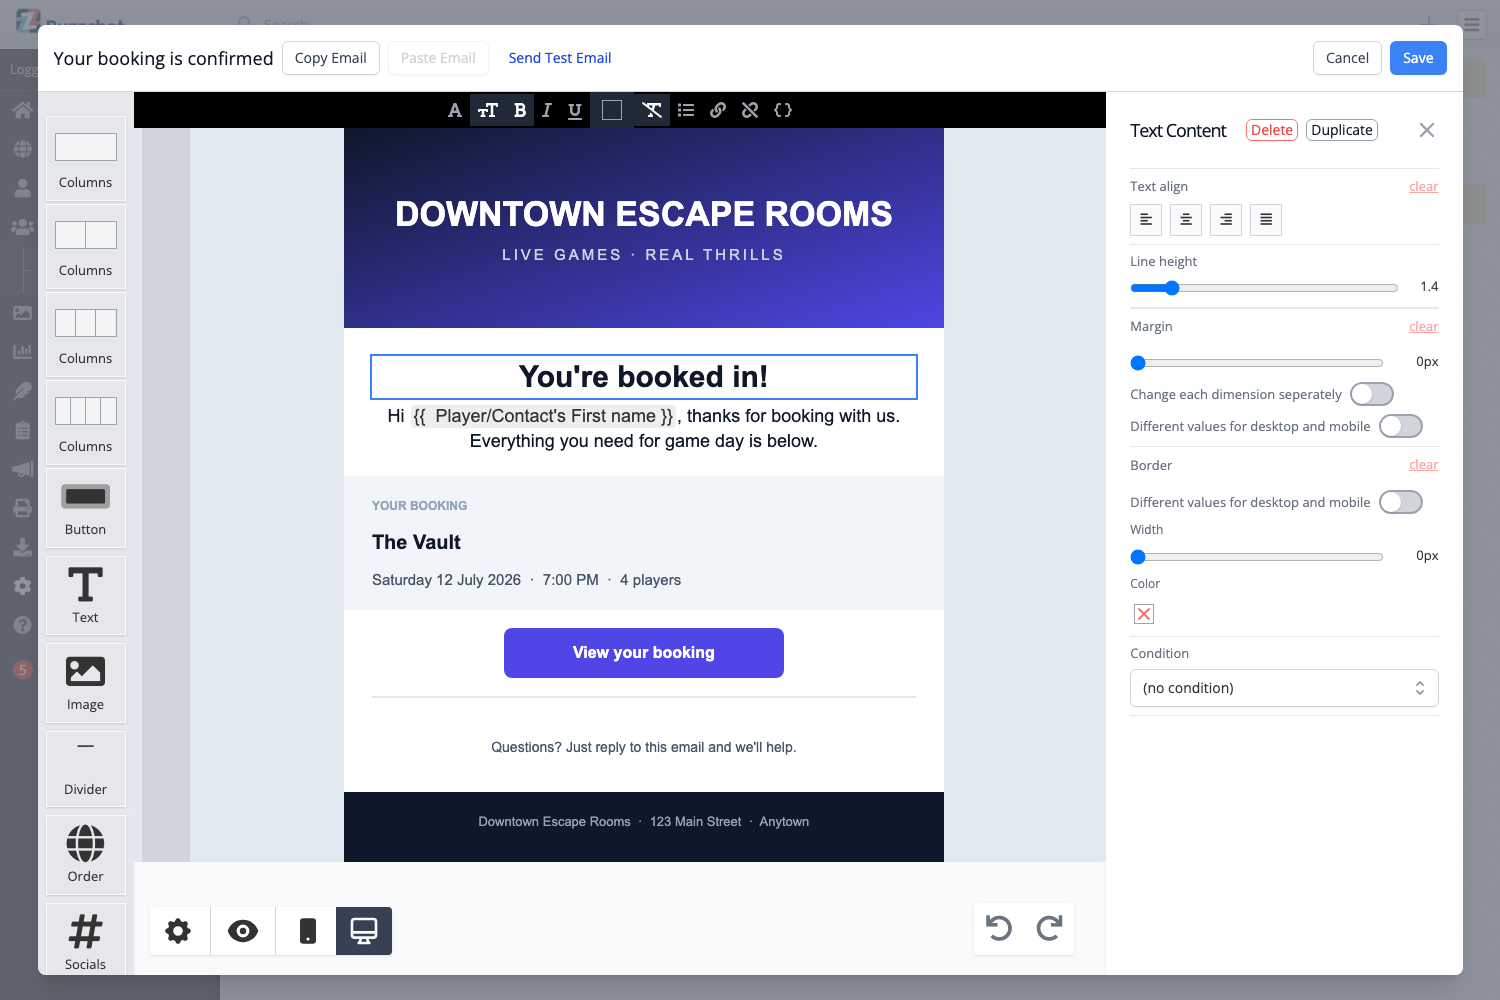
- The palette down the left is everything you can add.
- The canvas in the middle is your email. Click anything here to edit it.
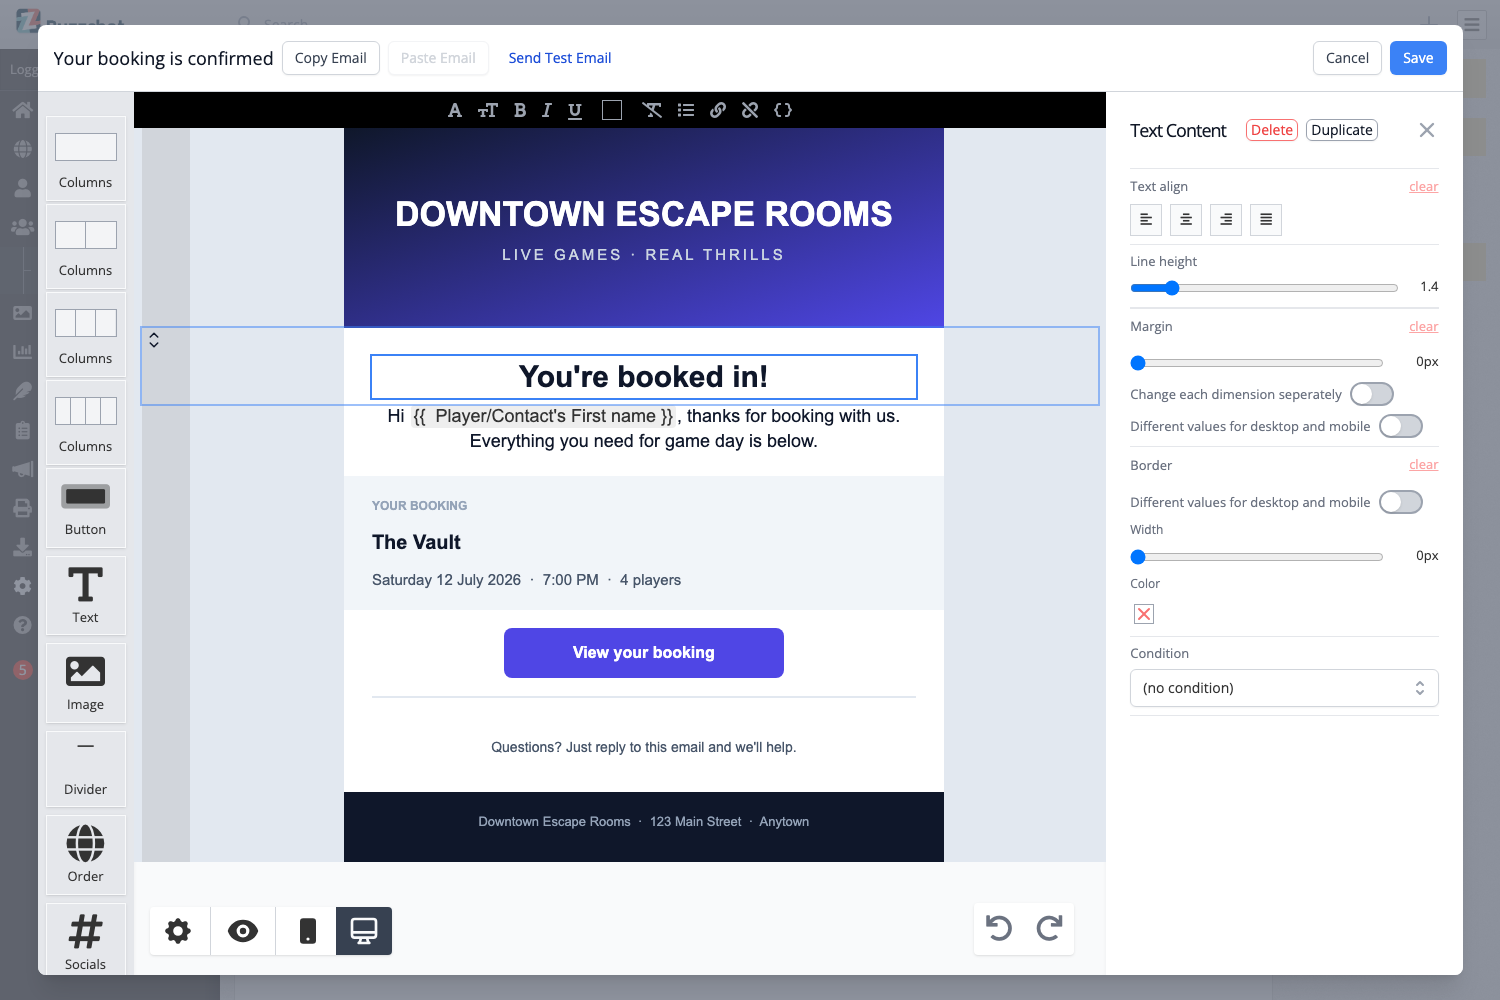
- The settings panel appears on the right whenever you select something, and shows the settings for whatever you clicked. In the picture above a Text block is selected, so its settings are showing.
Adding content
Everything is added by dragging it from the palette onto the canvas.

- The Columns options at the top of the palette add a new row. Pick the layout you want (one column, or two, three or four side by side) and drag it onto the canvas where you want the new row to go.
- The content blocks below them (Text, Image, Button and so on) are dragged into a column.
To move something later, hover over it and drag it by the handle that appears. To delete it, select it and use the Delete button in its settings panel.
The content blocks
These are the blocks you can add:
- Text for any words, with full formatting.
- Image for a photo, logo or banner.
- Button for a tappable call to action, such as "View your booking".
- Divider for a horizontal line to separate sections.
- Social for a row of links to your social media pages.
- Order for a ready-made summary of the customer's booking (on booking emails).
- Depending on the email, you may also see blocks for your Reviews buttons, a Survey, or your team Photos.
Editing text and the formatting toolbar
Click into a Text block and a formatting toolbar appears above the email. From left to right it gives you the font, the text size, bold, italic and underline, a text colour, a button to clear formatting, bulleted and numbered lists, links, and the { } button for inserting variables (covered next).

Personalising with variables
A variable drops a real detail into your text, such as the customer's first name, the room they booked, or your game master's name. Put your cursor where you want it, click the { } button in the toolbar, and pick the detail you want. When the email is sent, Buzzshot swaps in the real value.
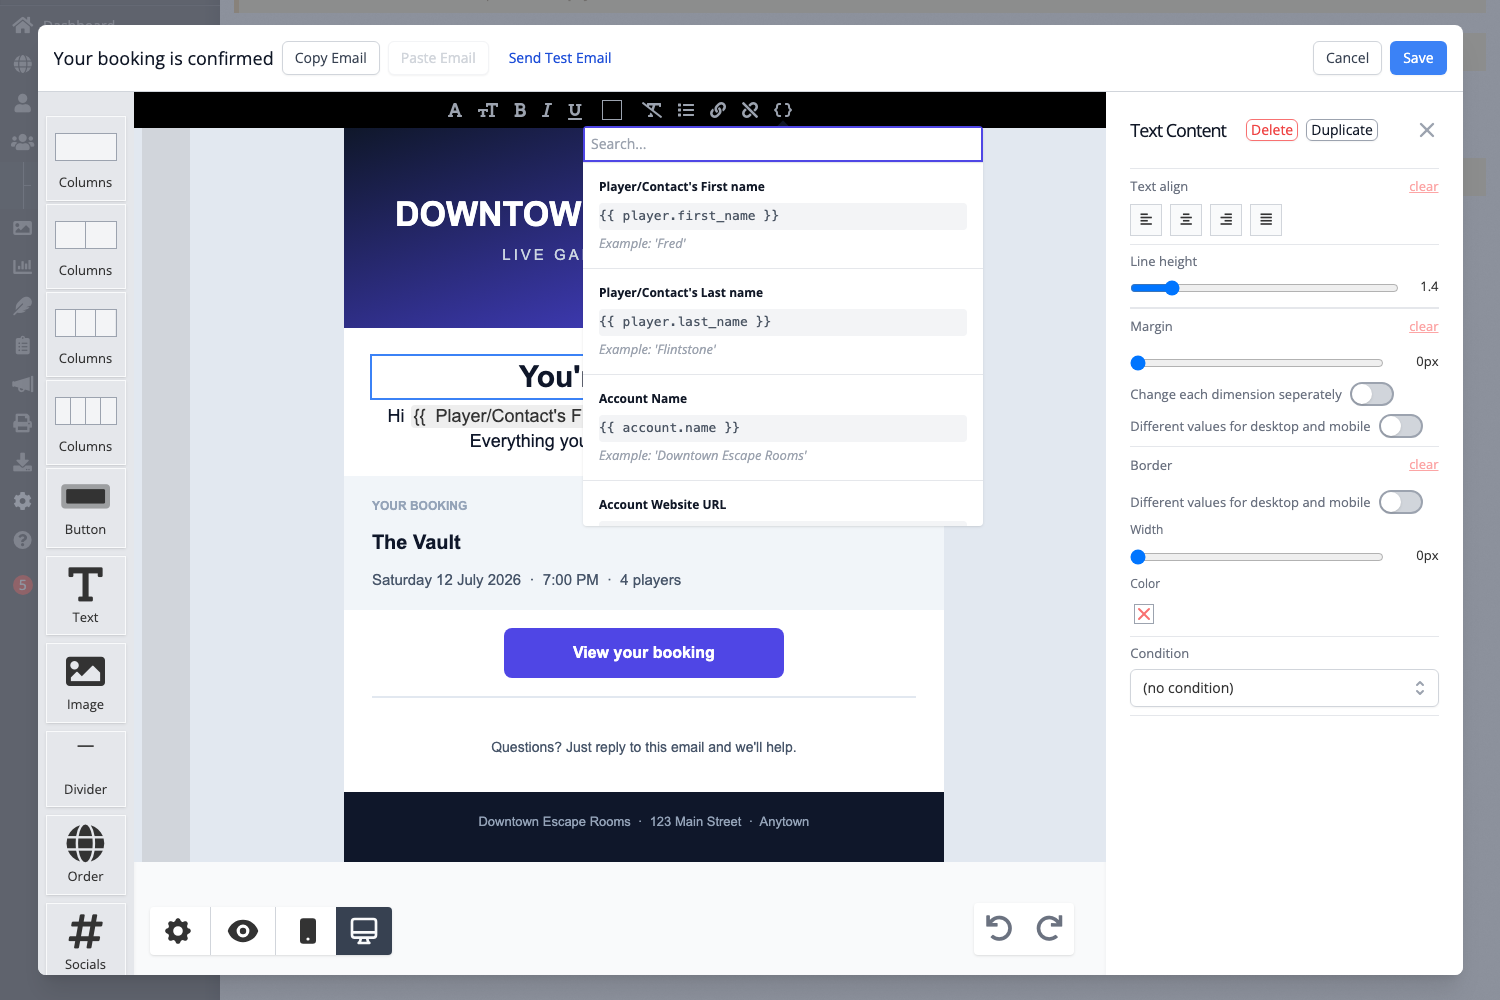
There is a full list of what you can insert, and how to fine-tune it, in Email/SMS Template Variables.
Showing content only sometimes
Every block has a Condition setting, near the bottom of its settings panel. A condition makes that block appear only when something you choose is true, so a single email can show different content to different customers. A common use is per-room arrival instructions in your order confirmation: each room's note only goes to the customers who booked that room.
This is a feature in its own right, so it has its own guide. See Conditional email content for how to set it up.
Changing a block's settings
Click any block to open its settings on the right. Every block has a Margin (the space around it), a Border, and a Condition, plus settings specific to that kind of block.
A Text block lets you set the alignment and line height:
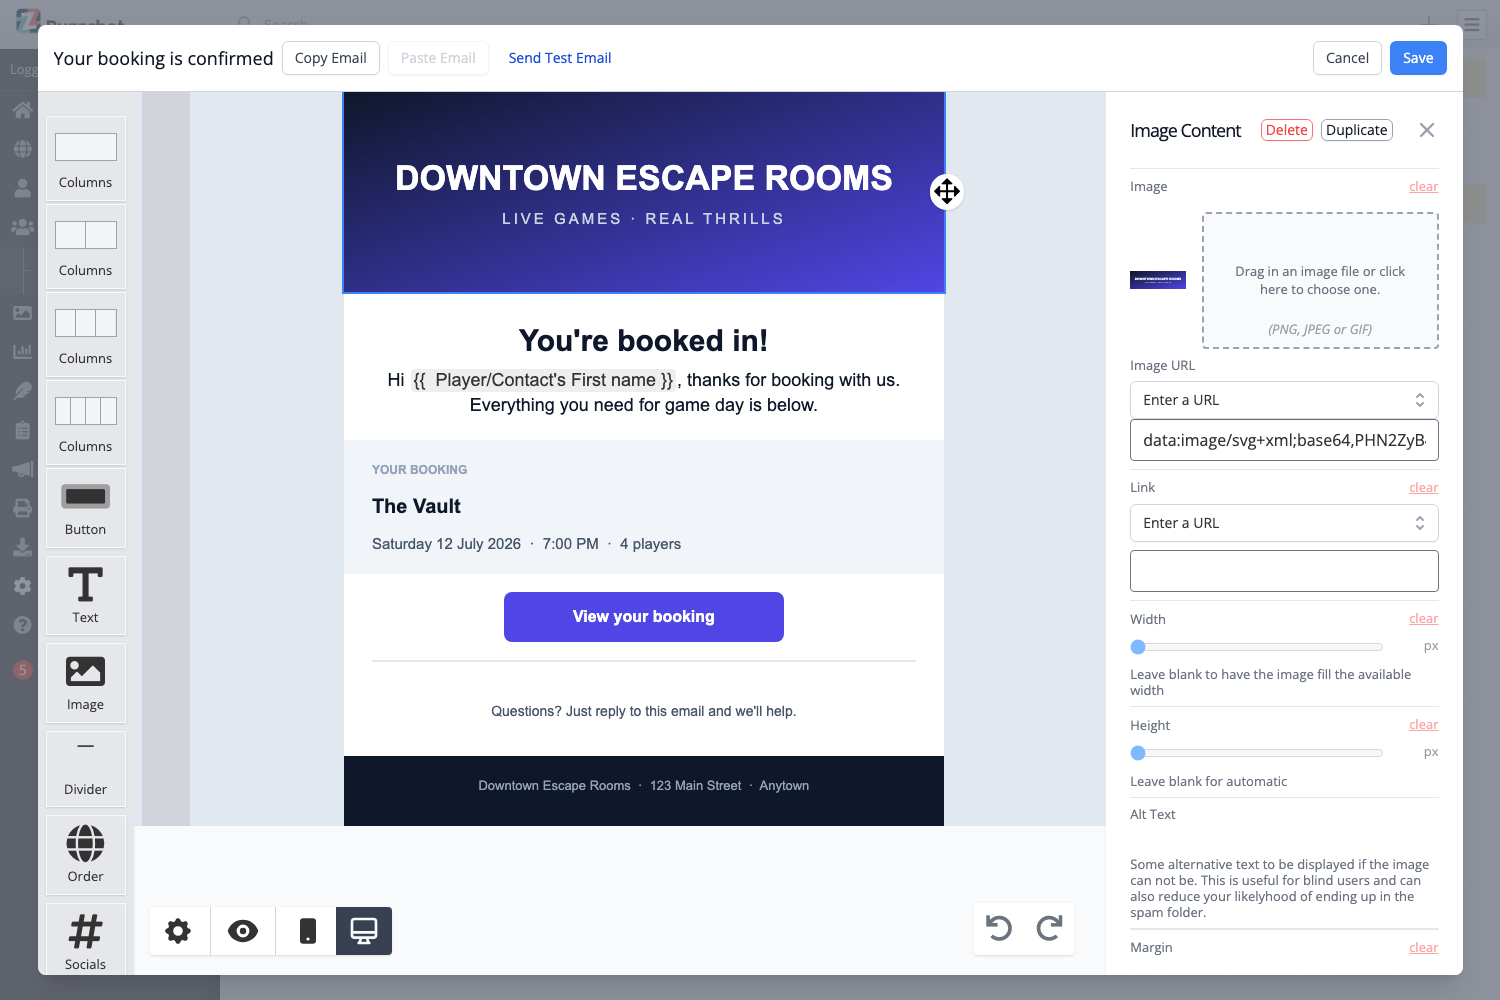
An Image block lets you upload or link the picture, make it a link, set its width, and add alternative text (shown if the image cannot load):
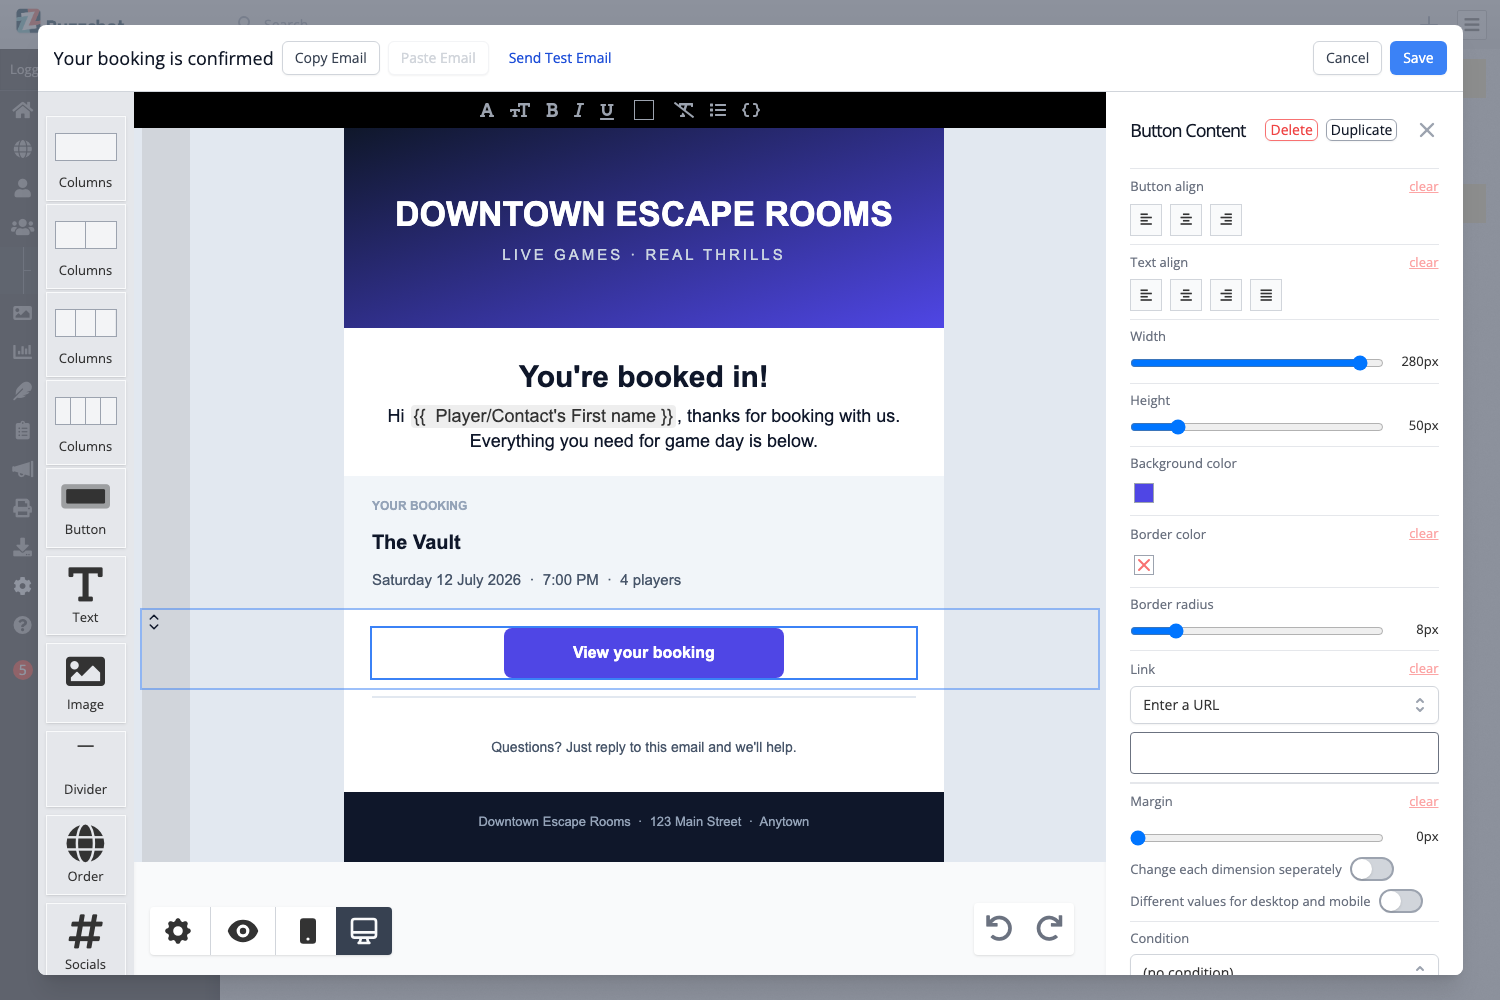
A Button block lets you set its size, colours, corner roundness, and the link it points to:
Row settings
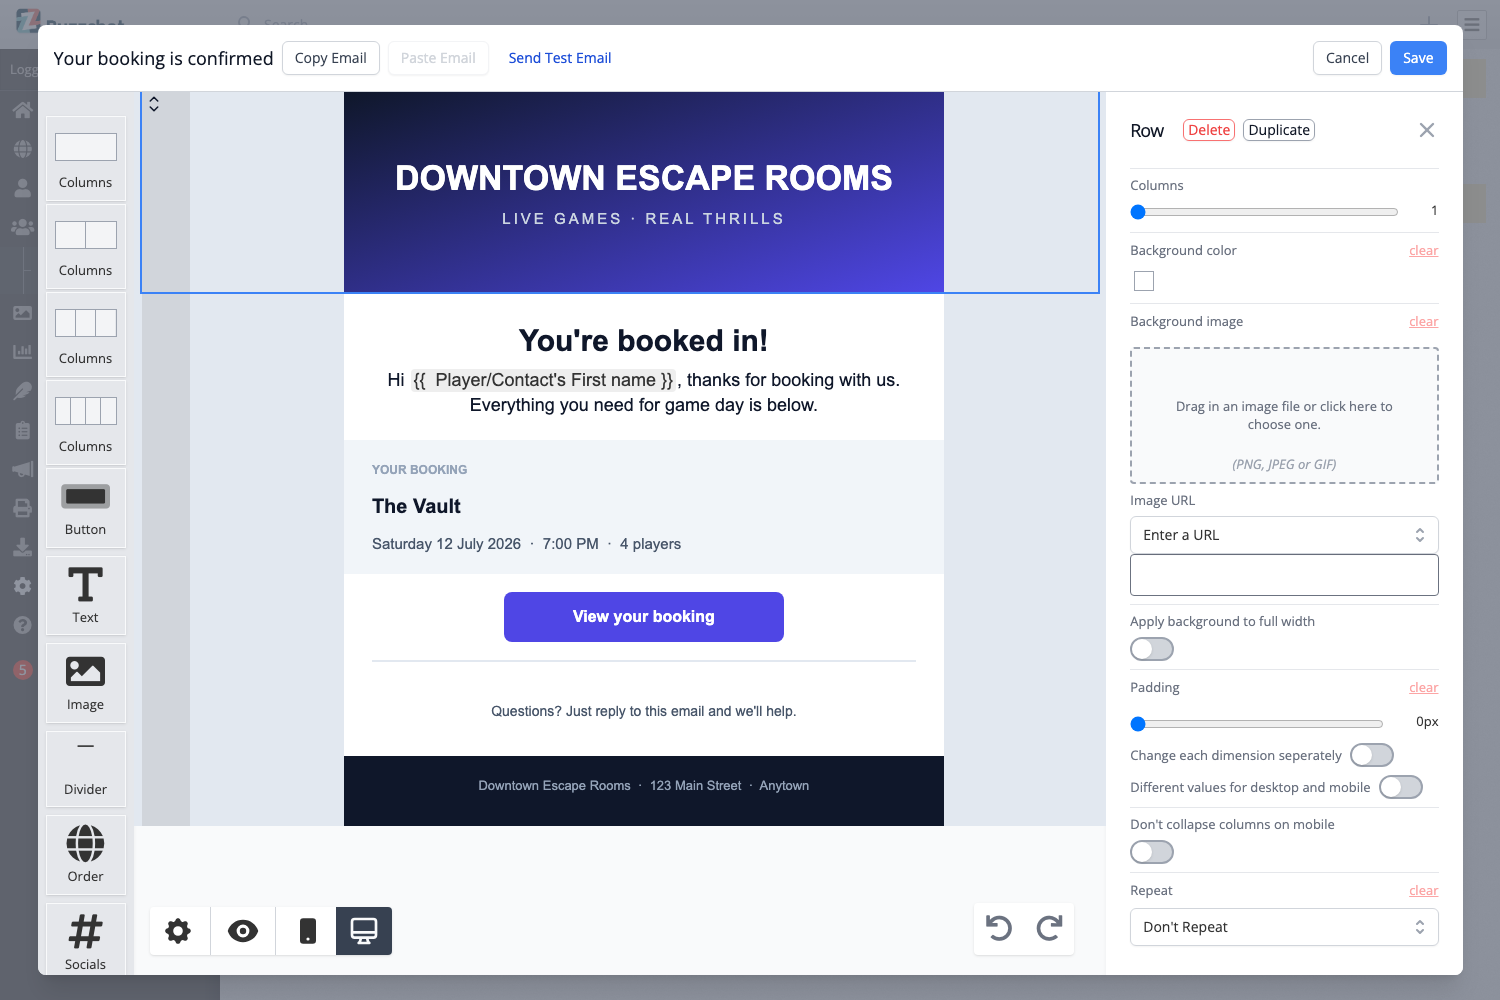
Click the grey strip down the left edge of a row to select the whole row. A row's settings let you change the number of columns, give the row a background colour or image, adjust its padding, and decide whether its columns should stack on mobile (more on that below). You can also set a row to Repeat, which prints the row once for each item in a list.
Email settings
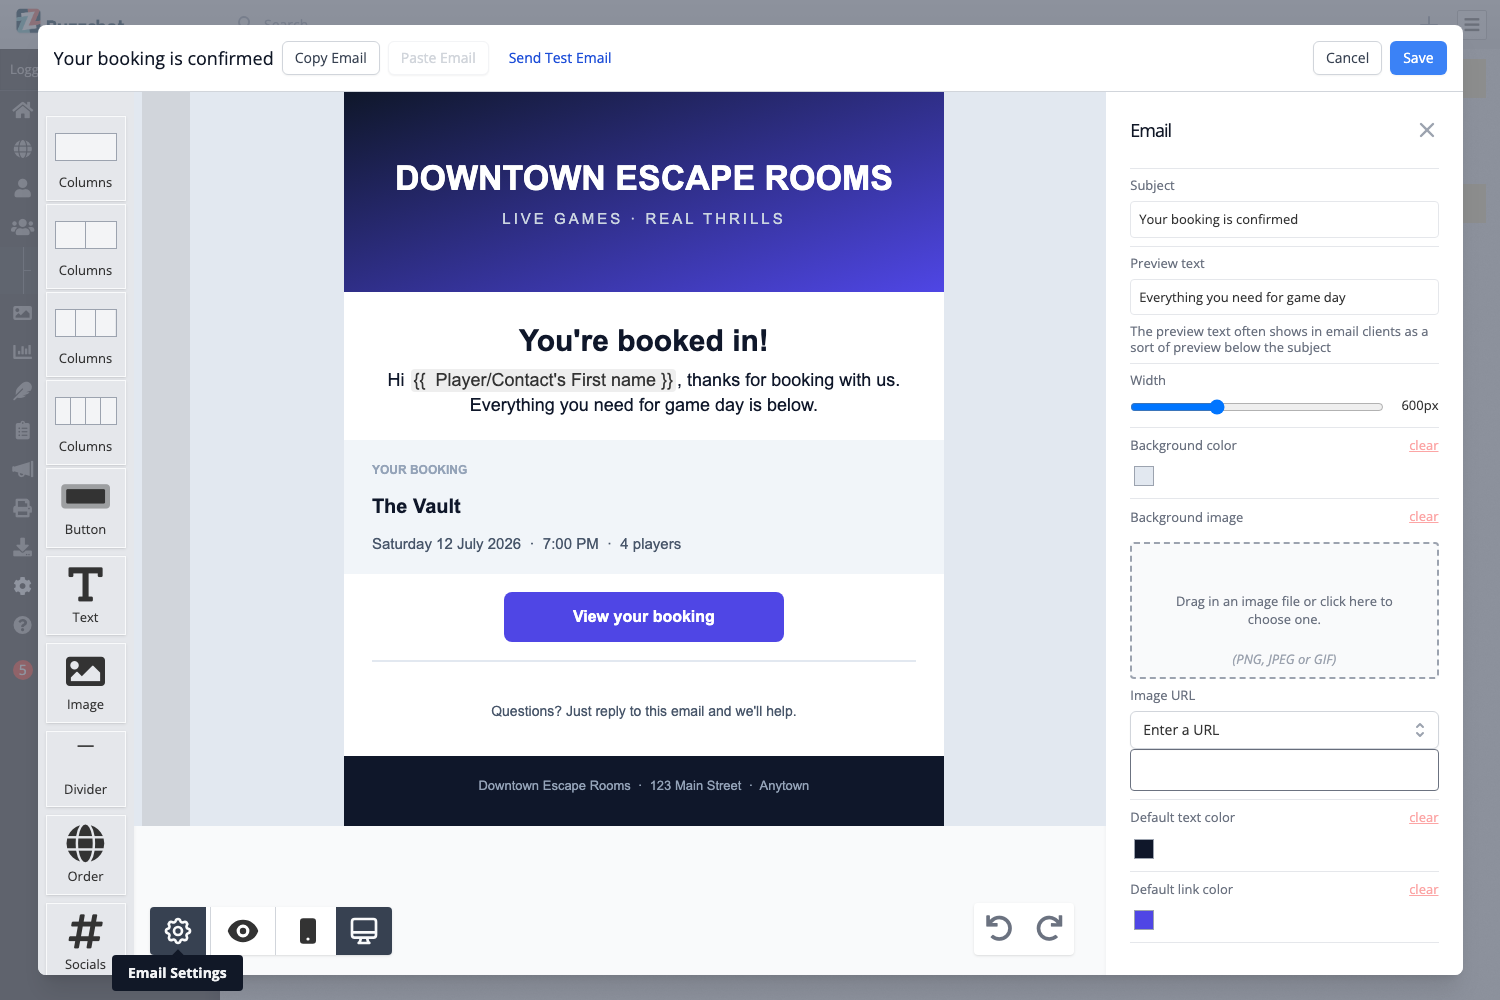
The cog button at the bottom-left opens the settings for the whole email: the Subject, the Preview text (the short line many inboxes show under the subject), the overall Width, the page Background colour, and the default text and link colours.
Mobile and desktop views
Many of your customers will read your email on a phone, so it is worth checking how it looks there. The phone and monitor buttons at the bottom switch between the mobile and desktop views while you edit.
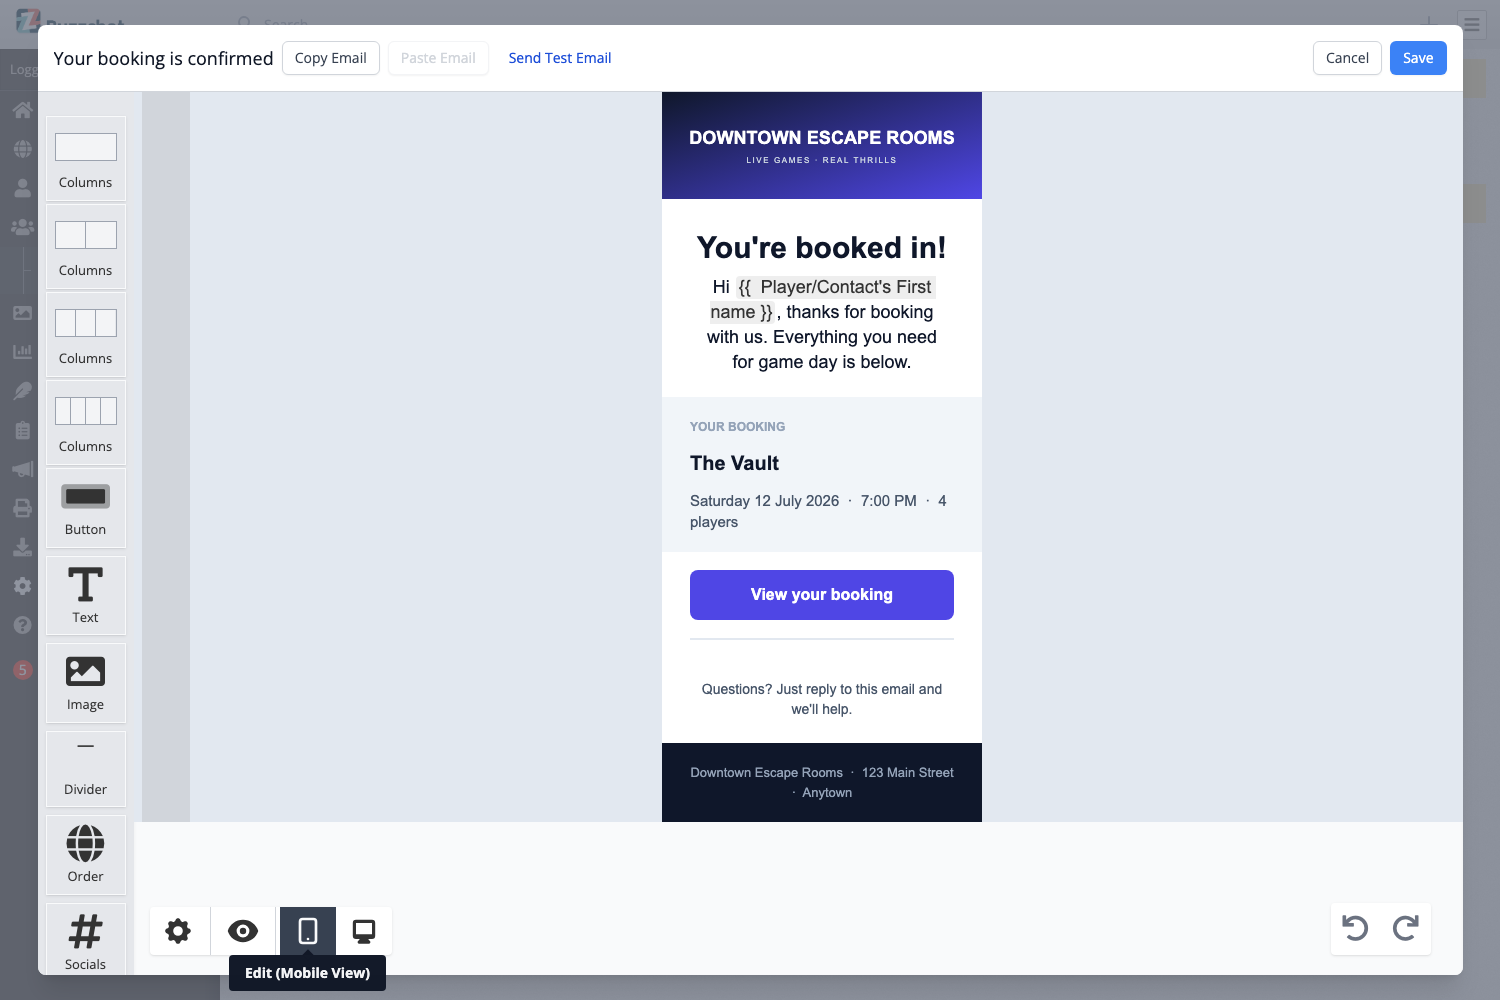
By default, columns that sit side by side on desktop stack on top of each other on mobile so everything stays readable. If you would rather a particular row kept its columns side by side, select that row and turn on Don't collapse columns on mobile.
Previewing, testing and saving
The eye button at the bottom opens a full Preview with sample details filled in, and lets you switch between phone, tablet and desktop. The finished example at the top of this page is exactly what Preview shows.
Before you rely on an email, use Send Test Email at the top to send yourself a copy and check it in a real inbox. When you are happy, click Save. Copy Email and Paste Email let you reuse a design in another email.
Starting from a template
If an email is empty, the editor offers a gallery of ready-made templates to start from, so you do not have to build it from scratch. Pick one, then change the wording, colours and images to suit you.
If you would like a hand designing any of your emails, just get in touch and tell us what you are after. We are happy to help.
Related Articles